How to Make Your Own Giving Plate Giving plate, Crafts for teens to

Giving Plate DIY How to Make One in 6 Steps Fabulessly Frugal
Put your plate in the oven while it is at room temperature. Set the oven to 350F and then set a timer for 30 minutes. After 30 minutes, turn the oven off and leave the plate in for a couple of hours until the oven has completely cooled. You want to make sure the plate doesn't cool down too quickly, or the plate can crack.

Giving Plate
DIY Sharpie Plate is a beautiful gift that's so simple to make. Using painters tape, a plate and a sharpie, you can. Skip to primary navigation;. When it comes to gift giving, I love homemade presents. Those crafty, one-of-a-kind presents make the gift extra special. When the holiday season was approaching, I was trying to think of a fun.

The Giving Plate Giving plate, Plates, Crafts to make
DIRECTIONS: *Design and decorate your plate as desired. Let Sharpie ink dry completely. *Place the plates in a cold oven, then turn it on to 350 degrees. Bake for 30 minutes, then turn off the oven and leave the plates inside until they're totally cool to reduce any cracks. *Even though your plates may be dishwasher safe, washing them by hand.

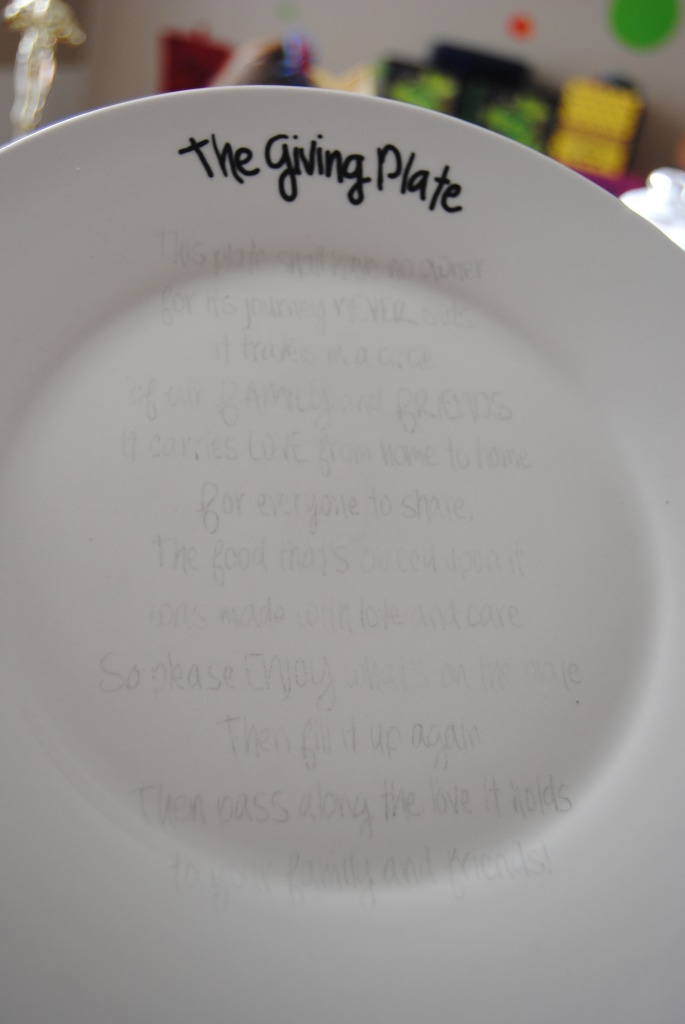
The giving plate Write the instructions on the back for other people to
Giving Plate Ideas. So, you might be thinking this is just something for families or really close friends. First, let me let you know that we received ours from a neighbor who we really didn't know. Second, it's a great way to grow a friendship. Third, why not make a host/hostesses day with one of these beautiful giving plates.
The Christmas Giving Plate FREE SHIPPING Ceramic Hand Etsy
Invite your kids to decorate the plate with a simple design. Remind them not to draw over their poem. Then bake the plate in a 350 degree oven for about 20 minutes. Cool completely. Your creation will then be permanent, if washed by hand. Package your treats on the newly-decorated plate.

How to Make Your Own Giving Plate Giving plate, Crafts for teens to
Directions: Wash and dry the serving plate. Cut and weed The Giving Plate SVG file from Cricut Design Space. Lay the Cricut Transfer Tape over the vinyl letters. Peel the vinyl backing off (leaving the letters on the transfer tape). Place The Giving Plate wording in the center of the plate. Gently peel the transfer tape off which will leave the.

Artisan Giving Plate Giving plate, Plates, Natural life
You want to making sure the plate doesn't cool down too quicker, or the plate can crack. Giving Plate DIY. Once the plate is completely cooled, you have owner final product! Make sure to hand cleaning this plate because the automatic will rapid wash who indicator off. Other Concepts. Have entertainment!

Giving Plate by SweepingCreations on Etsy More Diy Craft Projects, Fun
Recycle a mint tin into the perfect gift for your sewing friends. Features a pincushion filled with walnut shells to keep pins sharp and at-the ready. A magn.

How to Make Your Own Giving Plate
To make a food-safe plate, we will put the vinyl on the bottom of a transparent plate. In the photo above, the buffalo plaid plate wouldn't be considered food safe as the vinyl is on top. When gifting that plate, I plan to place cookies on a disposable clear plate. The clear plate is food safe, as the vinyl is on the bottom side of the plate.

Giving Plate DIY How to Make One in 6 Steps Fabulessly Frugal
Supplies needed to Make a Giving Plate. Blank Plate - I found mine at the dollar store. Vinyl. Transfer Tape. Cricut Explore Air 2 or Cricut Maker. Cricut Cutting Mat. Weeding Tool. Giving Plate SVG Cut File - Circle / Square. I also created an SVG cut file for square plates and platters.

I absolutely love this Giving Plate! What an awesome tradition to start
Add this DIY giving plate using adhesive vinyl to your next party to-do list for a gift that keeps on giving!
Giving Plate DIY Fabulessly Frugal
The Giving Plate is a he. In this tutorial you will learn how to create your very own Food Safe Giving Plate using adhesive vinyl with a Cricut or Silhouette!

Giving Plate DIY Giving plate, Plates diy, Fun plates
Tips to make your plate lovely: The plate: use a brightly colored or festive plate. The placement: crumple issue paper to put under the items to "lift" them to a flat level, if needed. The ribbon: gather a collection of ribbons to add color and make it complete. The components: think thematically, including items to be enjoyed, bring people.

Pin by Lisa Jacklin on Cricut Giving plate, Decorative plates, Plates
Place the plate in a cold oven and preheat to 300 degrees. This allows the plate to warm up gradually. Bake for 30 minutes and turn the oven off, leaving the plate in the oven. Leave the plate in the oven until it has cooled. This will allow the plate to cool gradually and avoid cracking.

Giving Plate DIY How to Make One in 6 Steps Fabulessly Frugal
Step 1: Open Cricut Design Space and open a circle shape. Resize it to the size of your plate. Then, open another circle shape, change the color to white and resize to an inch smaller than your plate. Open up a text box to create the text "The Giving Plate". I used the font "Bebas Nu" for "The" and "Plate" and the font "Hello.

giving plate 3 Giving plate, Neighborhood christmas gifts, Plate crafts
Using a sponge applicator brush, cover the surface of the upside down plate with mod podge. Do a generous layer of mod podge, being sure to go all the way to the edges. Lay the material over the plate, with the pattern side down. (Be sure the right side is facing down so it will show through the plate). Smooth the material over the plate.
